At JUANminiDIY, we take pride in crafting custom wooden arcade sticks that are tailored to each gamer’s style. But today, we’re turning the spotlight on another expert in the field—Jonyfraze.
Known for his exceptional craftsmanship, Jonyfraze’s process of building a fightstick from scratch is nothing short of impressive. From the careful selection of components to the precise assembly, every step is executed with a focus on both performance and design.
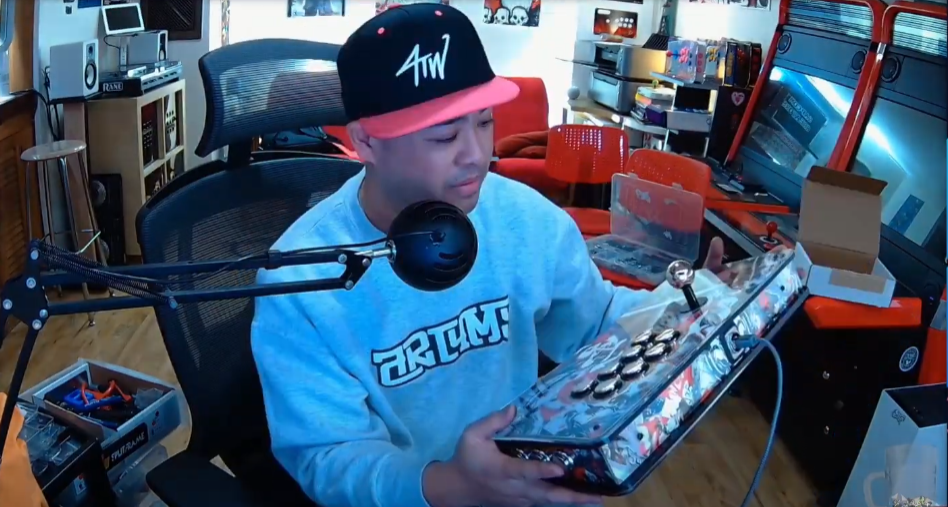
One of the hallmarks of Jonyfraze’s work is the 4TW Fightstick, known for its premium build quality. Jonyfraze uses components like Sanwa buttons and a detachable joystick, as showcased on his Youtube channel.
The attention to detail and custom artwork options make each stick a true work of art.
Whether you’re a casual gamer or a competitive fighter, building a custom fightstick like those from Jonyfraze can elevate your gaming experience. From the choice of parts to the final assembly, you get to create something uniquely yours that stands out from the crowd.
Planning Your Custom Fightstick

Crafting a custom fightstick from scratch requires careful selection of components, a well-thought-out design, and ensuring it suits your ergonomic needs. Let’s break down the critical steps in planning your perfect setup.
Choosing the Right Components
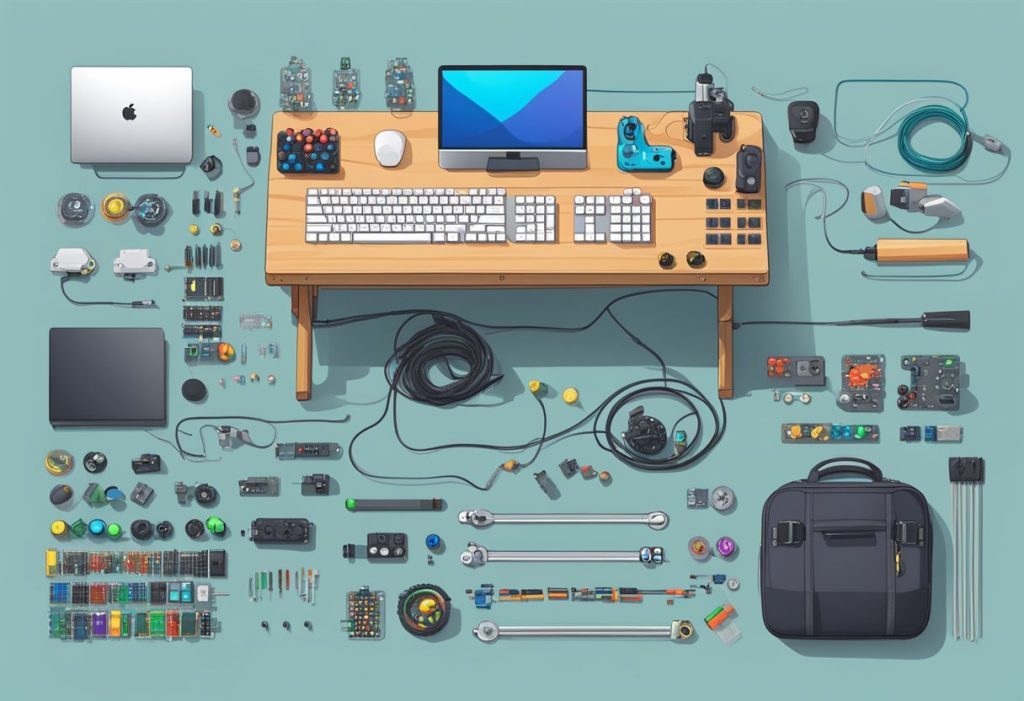
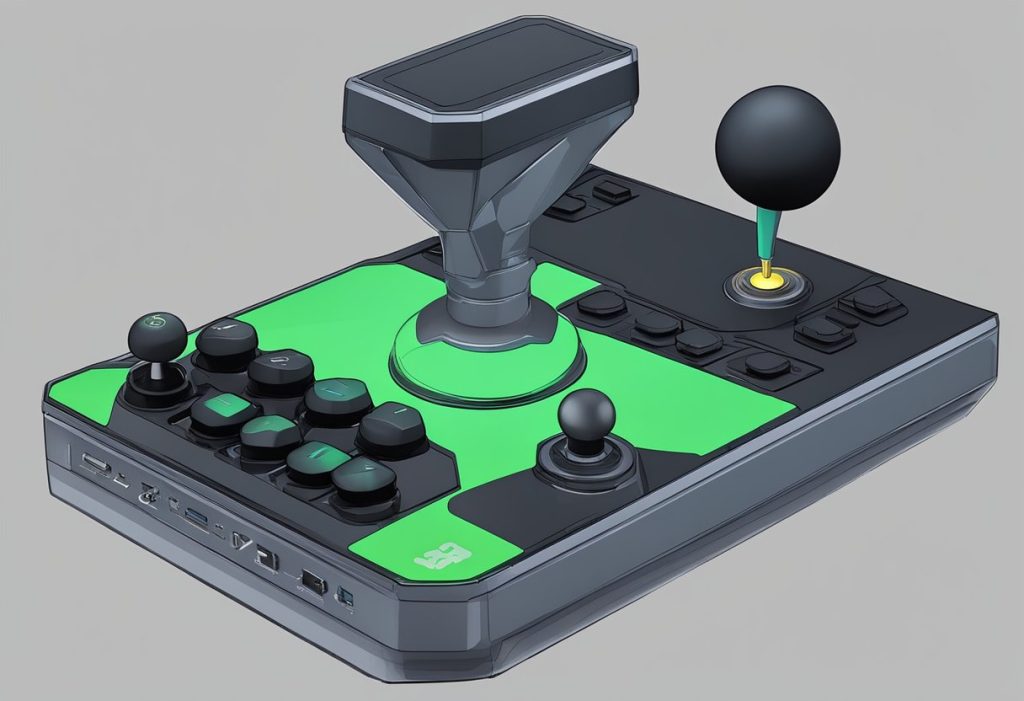
Start with the essential parts: the case, joystick, buttons, and PCB (Printed Circuit Board). Your case should be sturdy and spacious enough to fit all components without crowding.
Popular choices include metal, plastic, or acrylic enclosures.
For joysticks, Sanwa and Qanba are trusted brands. They offer smooth movement and durability. When selecting buttons, opt for responsive ones that feel comfortable during long gaming sessions. Sanwa and Seimitsu are great here as well.
Don’t forget the PCB, the brain of your stick. The Brook UFB Fusion is a versatile choice, supporting multiple consoles.
Designing the Aesthetics
The look of your fightstick is just as important as its functionality. Decide on the color scheme, artwork, and any special covers. The 4TW Fightstick builds from Jonyfraze are great examples of how to combine functionality with style.
You can use custom artwork to make your fightstick unique. Make sure the dimensions match your case and cover size requirements. Some builders prefer transparent cases that showcase internal components with LED lighting.
For added comfort, consider adding EVA foam bottom cushions. They provide a stable and soft base, ideal for long play sessions.
Sizing and Ergonomics
Ensuring your fightstick is comfortable to use is crucial. Consider the dimensions of your stick and how it fits into your gaming space. The case should be large enough for your hands to rest comfortably.
Layout is another key aspect. Common layouts include the Vewlix 6-button or 8-button configurations. Test different layouts to find what suits your playing style best. The right layout can improve your performance and reduce hand strain.
Assembly should be user-friendly. A well-designed enclosure should make it easy to fit all components snugly. Pay attention to button and joystick placement for optimal reach and comfort during gameplay.
Building the Fightstick
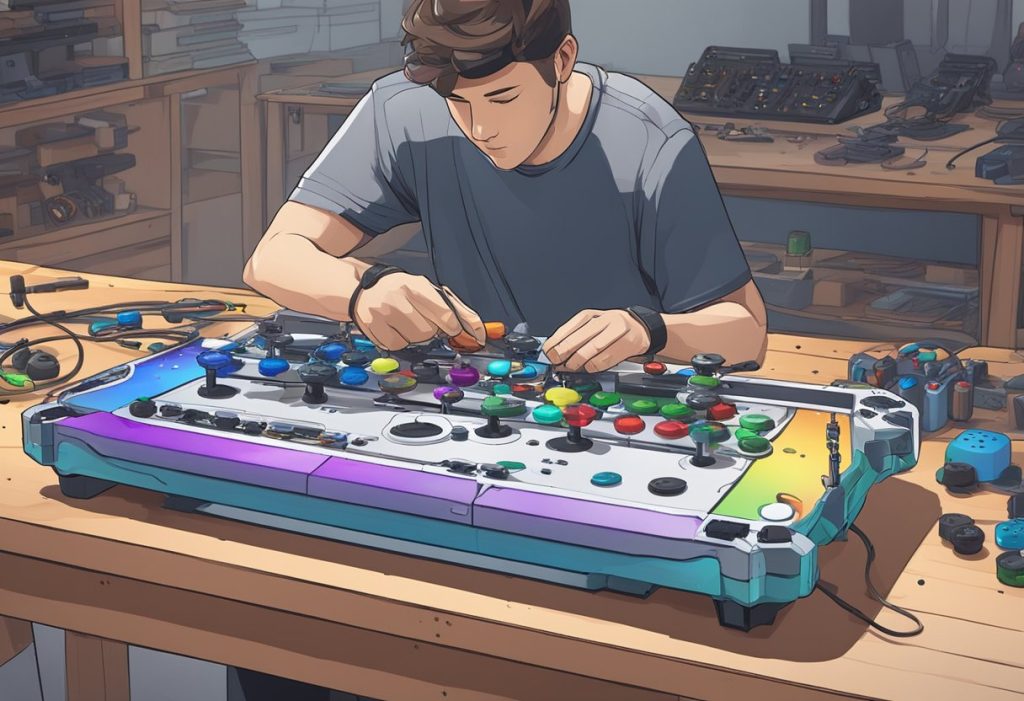
Building a fightstick involves assembling the case, wiring everything up, and fitting the joystick and buttons. Each step requires patience, precise work, and attention to detail to ensure a seamless gaming experience.
Assembling the Case
First, make sure you have all the parts for the case. You can use a 4TW Enclosure from Jonyfraze, known for its quality and durability. Choose between metal or wood for the material, depending on your preference.
Start by fitting the bottom and top panels together. Use screws to secure them tightly. This ensures a sturdy foundation. If you have a metal case, check for any sharp edges and sand them down.
Next, install the PCB (Printed Circuit Board). Make sure it aligns perfectly with the pre-drilled holes. Use spacers if needed to avoid any contact with the case, which could cause a short circuit. Once the PCB is in place, secure it with screws.
Wiring Everything Up
Carefully plan out the wiring for your buttons and joystick. Use a wiring diagram to ensure connections are correct. Typically, you’ll have a ground wire that will connect to all the buttons and joystick directions.
Start by connecting the buttons. If you’re using Sanwa buttons, you’ll likely have screw-in buttons. Tighten them firmly but avoid overtightening to prevent damage.
Once the buttons are in place, connect the wires to the PCB. Follow the wiring diagram closely. It’s important to match each button’s wire to the corresponding spot on the PCB. This is where attention to detail really matters.
For the joystick, you’ll usually connect four wires that correspond to the four directional inputs. Attach them to the ground wire as well. Double-check your connections before moving on to avoid troubleshooting later.

Fitting the Joystick and Buttons
Finally, install your joystick. Most custom builders prefer Japanese levers like Sanwa JLFs, known for their responsiveness. Place the joystick in its designated spot and secure it with screws.
If you’re using Korean levers, the process is similar but may require different mounting plates.
Make sure all buttons and the joystick move freely without obstruction. Test each button and joystick direction. If something feels off, check the alignment and connections again.
With everything in place, close the case. Double-check all screws to ensure nothing is loose. Now, your custom fightstick is ready for action!
Final Touches and Testing

Once you’ve assembled your custom fightstick, focus on adding the final elements and thoroughly test its functionality. This involves applying the artwork cover and performing various tests to ensure your joystick and buttons work perfectly.
Artwork and Finishing
Adding the artwork is an exciting step. You want your stick to look as good as it performs. Choose artwork that reflects your personality or favorite games. Customizing the acrylic cover with vibrant images can make your fightstick unique.
Secure the artwork firmly under the acrylic panel to prevent it from shifting during intense gaming sessions.
If you opt for transparent buttons, aligning them well with your design adds a polished look.
Final touches on the case, such as adding EVA foam to the bottom, can enhance its grip and protect surfaces from scratches.
Functionality and Performance Tests
Testing your fightstick is crucial. Begin by connecting it to your PC or console to check compatibility. Test each button to ensure it registers accurately, without delay. Check your joystick’s responsiveness through various moves and combinations in a game. Switch positions and verify that they trigger the correct inputs. Ensure the PCB and wiring are secure to avoid any loose connections that can impact performance.
By thoroughly testing, you can ensure your custom fightstick offers a seamless gaming experience from start to finish.
How Jonyfraze Builds a Custom Fightstick
Jonyfraze took on a commissioned project for his client, Hamad, to create a custom fightstick featuring a Noir layout inspired by Namco’s controller style, with Nago from Guilty Gear as the centerpiece. This project required meticulous attention to detail and a well-organized process, resulting in a unique and high-quality gaming accessory.
Project Overview
The goal was to craft a fully functional fightstick that not only performs well but also showcases stunning artwork. Jonyfraze’s commitment to quality craftsmanship shines through every aspect of the build, ensuring that the final product meets Hamad’s specific preferences.
Design and Planning
The project began with careful planning and design. The Noir layout was chosen for its sleek aesthetic, and Nago from Guilty Gear was selected as the focal character for the artwork. Jonyfraze meticulously prepared the design elements, considering how each component would fit together seamlessly.
Laser Work
A significant part of the building process involved laser work. Jonyfraze utilized a Glowforge laser cutter to ensure precise cuts and engravings. This step included:
- Material Selection: For this project, black acrylic was chosen for its cutting performance and aesthetic appeal.
- Adjusting Settings: Jonyfraze carefully adjusted the laser settings to group the inside button screw holes and the main cuts, streamlining the cutting process.
- Monitoring the Cutting Process: Throughout the cutting, he monitored the remaining time and made necessary adjustments to ensure everything was centered and aligned perfectly.
Artwork Preparation
The artwork was a crucial element of the fightstick. Jonyfraze used a Canon Pro 100 printer to produce high-quality prints of Nago, ensuring that each sheet matched the required dimensions for the fightstick. The printing process included:
- Aligning and Checking: Each sheet was meticulously checked for alignment and accuracy before printing.
- Multiple Sheets: As each part—top, sides, and bottom—was printed, Jonyfraze kept a close eye on the progress to ensure all elements were ready for assembly.
Assembly Process
Once the components were ready, Jonyfraze moved on to the assembly phase. He focused on several key aspects:
- Smoothing Edges: The edges of the acrylic were smoothed using a metal card scraper, providing a comfortable grip and professional finish.
- Aligning Parts: Each piece was carefully aligned and secured with hex bolts for optimal stability.
- Installing Electronics: The Brook Universal Board and PlayStation 5 upgrade were installed, making the fightstick a versatile setup for gamers.
Wiring and Electronics
The wiring process required careful attention to detail. Jonyfraze ensured that all connections were secure by:
- Color-Coding Wires: This method helped him keep track of the connections and maintain organization.
- Soldering as Needed: He soldered certain connections to guarantee a strong and reliable setup.
- Mounting the Universal Board: The Brook Universal Board was positioned accurately, as it serves as the heart of the system, translating user inputs into game actions.
Final Touches
As the project neared completion, Jonyfraze paid close attention to the final touches:
- Cable Management: Neatly routing the cables kept the interior tidy and prevented interference with electronic components.
- Final Review: A thorough inspection of each component ensured everything was aligned and functional. Jonyfraze checked for any imperfections that could impact usability or aesthetics.
Conclusion
In the end, Jonyfraze’s custom fightstick for Hamad emerged as a striking blend of performance and artistry. With a focus on quality and detail, every element, from the artwork to the joystick, was crafted to create a unique gaming experience. This project highlights Jonyfraze’s skill as a custom fightstick builder and his dedication to bringing clients’ visions to life.
Want Your Own Custom Fightstick?
At JUANminiDIY, we specialize in building custom wooden arcade sticks tailored to your gaming style and personality. We’ve crafted over 300 custom wooden arcade sticks for gamers around the world, and we’re passionate about bringing your dream arcade stick to life.
To see some of our previous builds, check out our Facebook page and YouTube channel. Message us on Facebook to inquire about our products and services, or visit our Lazada shop for parts and accessories.
Check out some of our Custom Wooden Arcade Sticks:

